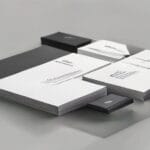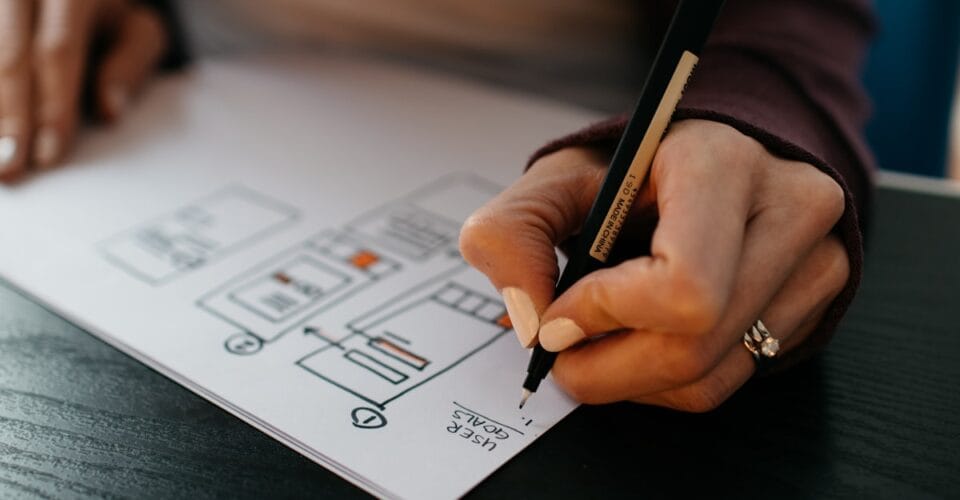
Sending a print file that is not properly prepared is one of the most common — and avoidable — causes of print job delays and costly reprints. Knowing how to prepare print-ready files correctly saves you time, money, and the frustration of receiving printed pieces that do not look as expected. This guide walks you through every step of the process, from initial file setup to final PDF export.
Step 1: Set the Correct Document Size and Bleed
Always set your document to the final trim size — the size the printed piece will be after cutting. For a standard A5 flyer (148×210mm), set the document canvas to exactly 148×210mm. Then, add 3mm bleed on all four sides (extending background colours and images to the red bleed guides).
Do not build bleed into the canvas size. A document set at 154×216mm with no bleed settings specified is not the same as a 148×210mm document with 3mm bleed properly set up. The difference matters when the printer sets up their cut files.
Step 2: Work in CMYK Colour Mode
Commercial printing uses CMYK inks. If your file is in RGB, colours will shift when converted — often becoming duller or slightly different in hue. Always set your document to CMYK from the start. In Adobe InDesign and Illustrator: Document Colour Mode → CMYK. In Photoshop: Image → Mode → CMYK Colour.
Use the ISO Coated v2 colour profile for European offset printing, or GRACoL 2006 Coated1v2 for US printing. These profiles ensure your on-screen CMYK preview closely matches the printed result.
Step 3: Set Image Resolution to 300 DPI
Print requires much higher image resolution than screen. For sharp, professional print output, all images must be at least 300 DPI (dots per inch) at their actual print size. Images sourced from websites, social media, or low-resolution exports are typically 72–96 DPI — far too low for print and will appear blurry or pixelated.
To check resolution in Photoshop: Image → Image Size → note the Resolution field. If your image is 72 DPI at A4 size, you cannot simply change the resolution number — the actual pixel count needs to be higher. Source high-resolution images from stock libraries like Unsplash or Shutterstock for print-quality results.
Step 4: Embed or Outline Your Fonts
If your design uses custom or non-standard fonts, and those fonts are not embedded in your exported PDF, your printer’s system will substitute them with a default font — completely changing the look of your design. Prevent this by either:
- Embedding fonts in your PDF export: In InDesign/Illustrator, fonts are embedded automatically in PDF/X exports if they are licensed for embedding.
- Converting text to outlines: In Illustrator: Select All Text → Type → Create Outlines. This converts text to vector paths, eliminating any font dependency. Note: you can no longer edit text after outlining, so always save a copy with live text before outlining.
Step 5: Check Your Black Settings
Black in print is not always straightforward. There are two types used in different contexts:
- Pure Black (K100): 100% black ink only. Use this for body text, small type, and thin lines. It prints crisply without registration issues.
- Rich Black (C60 M40 Y40 K100): A mix of all four CMYK inks that produces a deeper, richer-looking black for large areas like full-page backgrounds, headers, or dark packaging panels.
Never use rich black for small text — the multi-layer ink registration can cause a blurry halo effect. According to the Prepressure design guides, this is one of the most common mistakes made by non-specialist designers preparing files for print.
Step 6: Export as PDF/X with Crop Marks
When your design is finalised, export it as a print-standard PDF:
- In InDesign: File → Export → Adobe PDF (Print) → select PDF/X-1a:2001 or PDF/X-4:2008 preset
- Under “Marks and Bleeds”: check Crop Marks and check “Use Document Bleed Settings”
- Under “Compression”: set images to 300 DPI minimum
- Under “Output”: set colour conversion to “No Colour Conversion” (if already in CMYK)
The resulting PDF will include crop marks (so the printer knows where to cut), embedded bleed, embedded fonts, and correctly specified CMYK colours. At Gravitfy Studio, we accept PDF/X-1a and PDF/X-4 files for all print jobs.
Pre-Flight Checklist
Before sending any file to print, run through this checklist:
- ✅ Document set to correct trim size
- ✅ 3mm bleed added on all sides
- ✅ Colour mode set to CMYK
- ✅ All images at 300 DPI or higher
- ✅ Fonts embedded or outlined
- ✅ Rich black used for large dark areas; pure black for text
- ✅ Important content within the 3–5mm safe area
- ✅ Exported as PDF/X with crop marks and bleed included
Frequently Asked Questions
What resolution do I need for print?
A minimum of 300 DPI at the actual print size. For large format prints (banners, exhibition displays) viewed from a distance, 150 DPI is often acceptable because viewing distance compensates for lower resolution.
Can I send a JPEG or PNG to a printer?
Most professional printers prefer PDF files. JPEG and PNG files can be accepted in some cases, but they do not support bleed settings, colour profiles, or embedded fonts properly. Always export a PDF for professional print work.
What if my logo is only available in low resolution?
Request a vector version (AI, EPS, or SVG) of your logo from whoever designed it. Vector files scale to any size without quality loss. If no vector exists, a professional designer can redraw your logo as a vector file — this is a worthwhile one-time investment for any business.
Do I need to include crop marks?
Yes — crop marks (also called trim marks) show the printer exactly where to cut your design to its final size. They appear outside the bleed area and are essential for all professional print work. Always include them in your PDF export settings.
Let Us Check Your File Before It Goes to Press
Gravitfy Studio provides a free pre-press file check on every job. Send us your artwork and we will flag any issues before printing starts.